
Sampling With Kong

Sampling With Kong
New in Reason 5 and Record 1.5 is the sampling feature. In this tutorial you will learn how to set up Reason 5 & Record 1.5 for sampling and how to sample using the Kong Drum Designer
4min.
Software Used:


Notice: This tutorial uses older, out of date versions of software. Reason 5 and Record 1.5 were originally released in August of 2010. The features of Record 1.5 have been features of Reason since Reason 6.
If using a version of Reason that is older than Reason 5, or using Reason 5 without Record 1.5, the features demonstrated will not be available.
Step-by-Step
In devices that allow the use of samples there is a new icon that resembles an audio wave. When this button is pressed a sampling window is opened that begins recording immediately. Reason and Record automatically assigns an audio input from your computer to be the sampling input if one is available. For PC and mac, “built in input+built in output” should be selected in Reason and Records audio preferences to follow along with this tutorial.
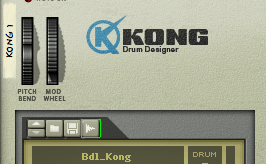
In devices that allow the use of samples there is a new icon that resembles an audio wave. When this button is pressed a sampling window is opened that begins recording immediately. Reason and Record automatically assigns an audio input from your computer to be the sampling input if one is available. For PC and mac, “built in input+built in output” should be selected in Reason and Records audio preferences to follow along with this tutorial.

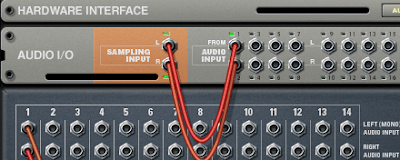
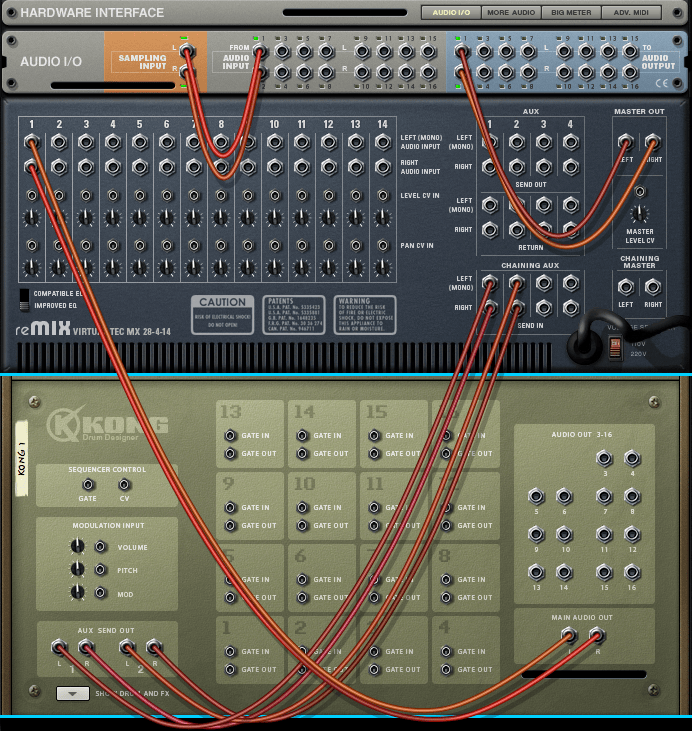
Depending on your audio settings, Reason and Record will automatically route the first audio input to the sampling input. If the input comes through another channel rather than input channel 1 and 2 the input will need to be manually routed. To do this, flip the rack around and attach the correct “from” audio input channel cables to the Audio Inputs input. The routing should look similar to Figure 3 with the exception of where your audio input is coming from.
Now that the correct audio input has been routed to the Sampling Input, Flip the rack back around to check the signals. When you audio intended for sampling is played, its audio input channels and the Sampling Input should light up at the same time.
Now that everything is routed correctly, by pressing the sample button on the selected sampling device (Figure 1), you can start sampling.

What’s next?
You’re one step closer to becoming a Reason expert! Pick another tutorial and keep on learning.